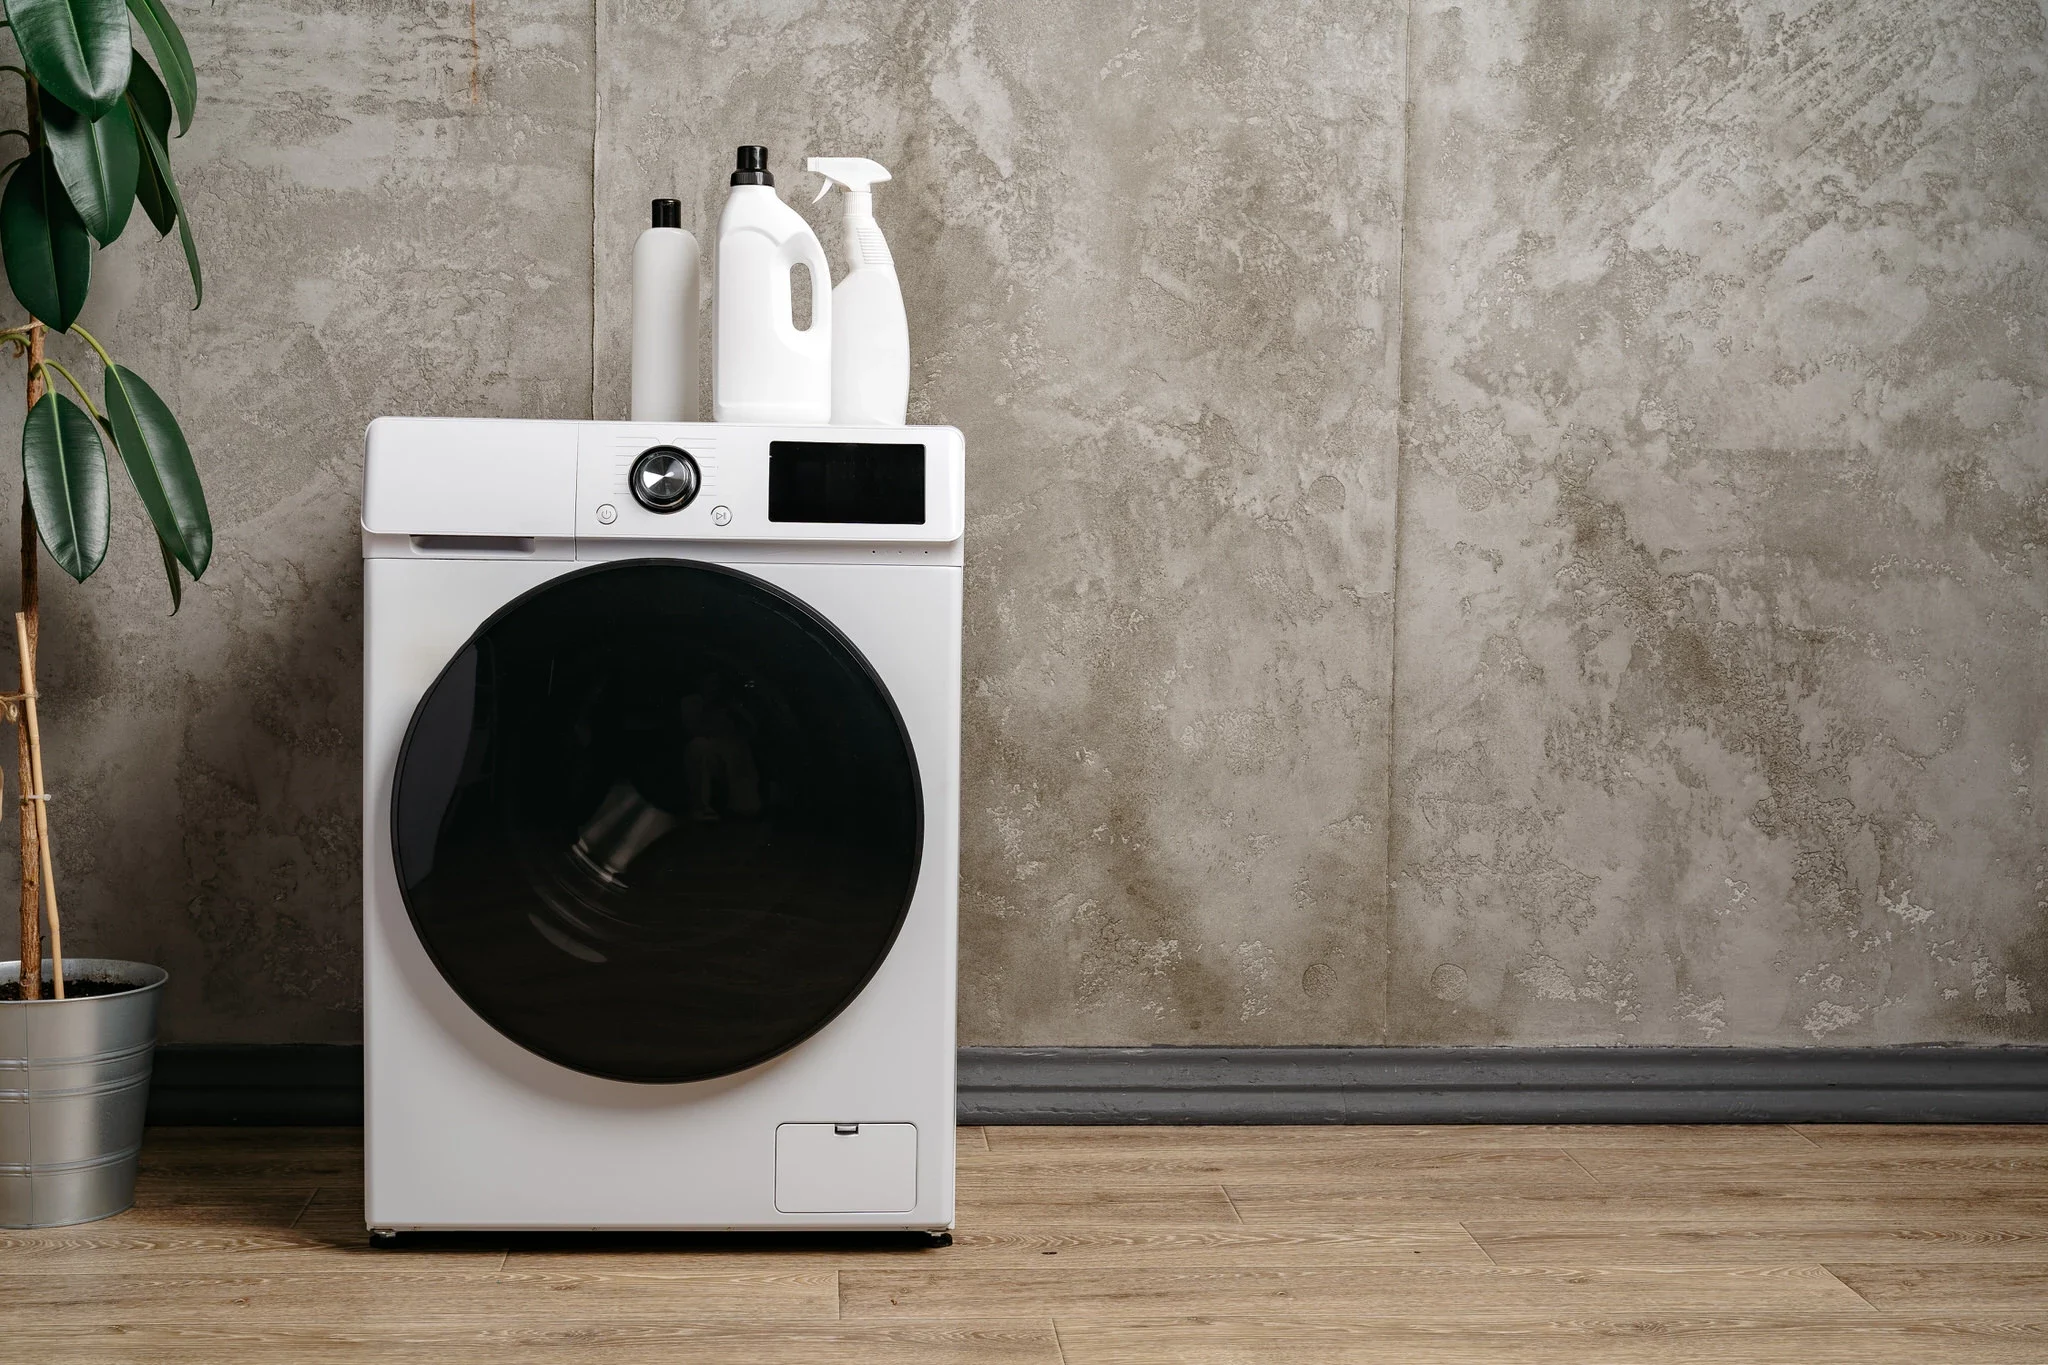
With over 15 years in the moving and relocation business, we have helped countless families move their homes without a hitch. Washing machines can be tricky to move; they’re heavy, pose water risks, and are easy to damage if not handled properly. But with some preparation, you can do it safely and avoid costly repairs. This guide walks you through the process step by step, whether you’re moving across town or to a new flat.
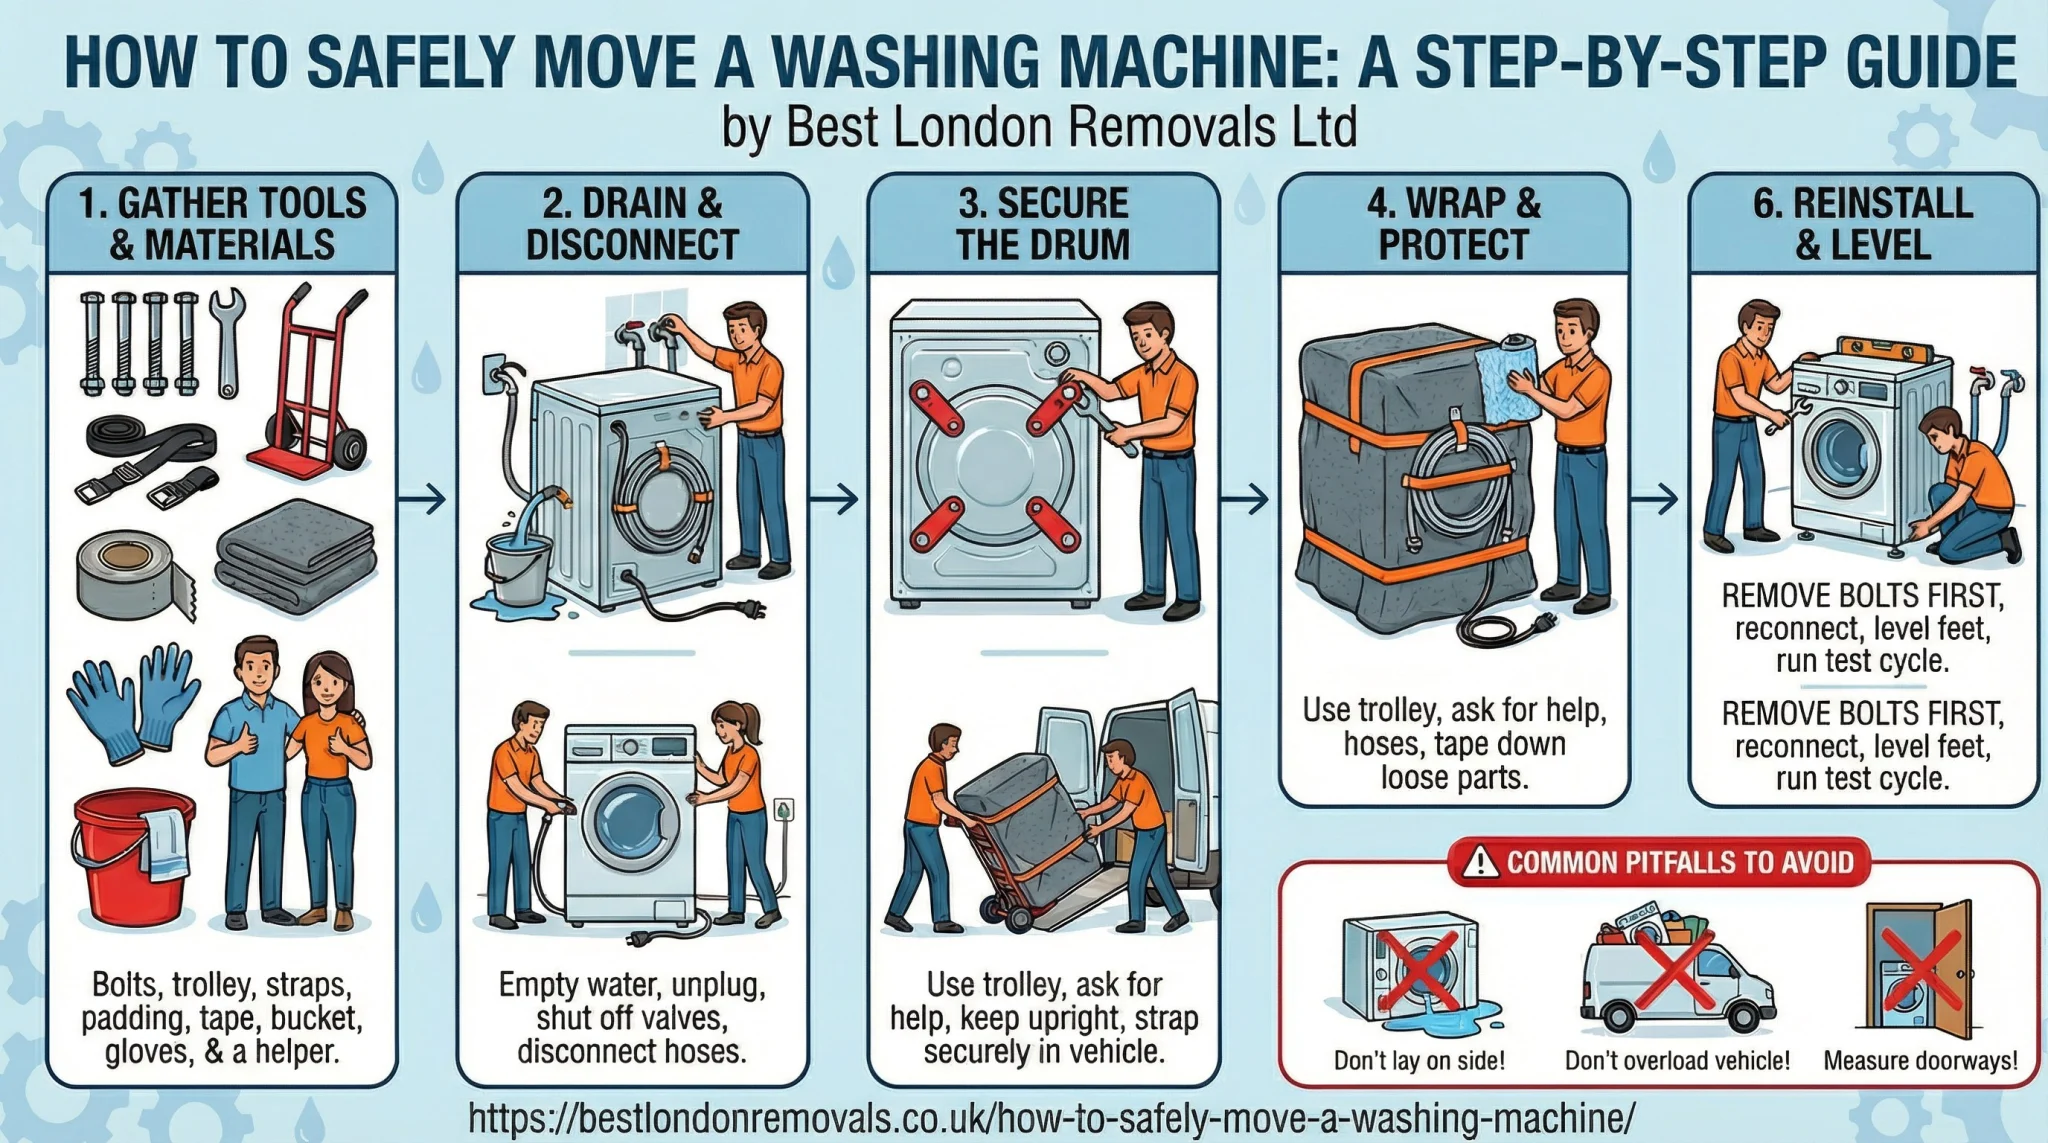
Gather your tools and materials first.
Before you start, make sure you have everything ready. It saves time and frustration.
- Transit bolts: These came with your machine originally. If you’ve lost them, order replacements from the manufacturer.
- A trolley or dolly: Essential for wheeling the machine without straining your back.
- Straps or bungee cords: To secure the drum and the machine during transport.
- Blankets or padding: To protect against scratches and dents.
- Duct tape or zip ties: For securing hoses and cords.
- A bucket and towels: To catch any leftover water.
- Gloves: For a better grip and hand protection.
- A helper: Don’t try this alone, it’s much safer with two people.
Check your machine’s manual for model-specific advice, it’s often got diagrams that make things clearer.
Drain and disconnect the machine
Water inside can cause leaks or mould during the move. Start by emptying it completely.
Turn off the power at the wall and unplug the machine. Shut off the water supply valves, usually behind the machine. Disconnect the inlet hoses carefully, letting any water drain into your bucket. Do the same with the drain hose.
Run a spin cycle if possible, to remove as much residual water as you can. Tilt the machine gently to drain any that’s left, but be careful not to tip it too far.
Wipe down the inside and outside to prevent dampness building up.
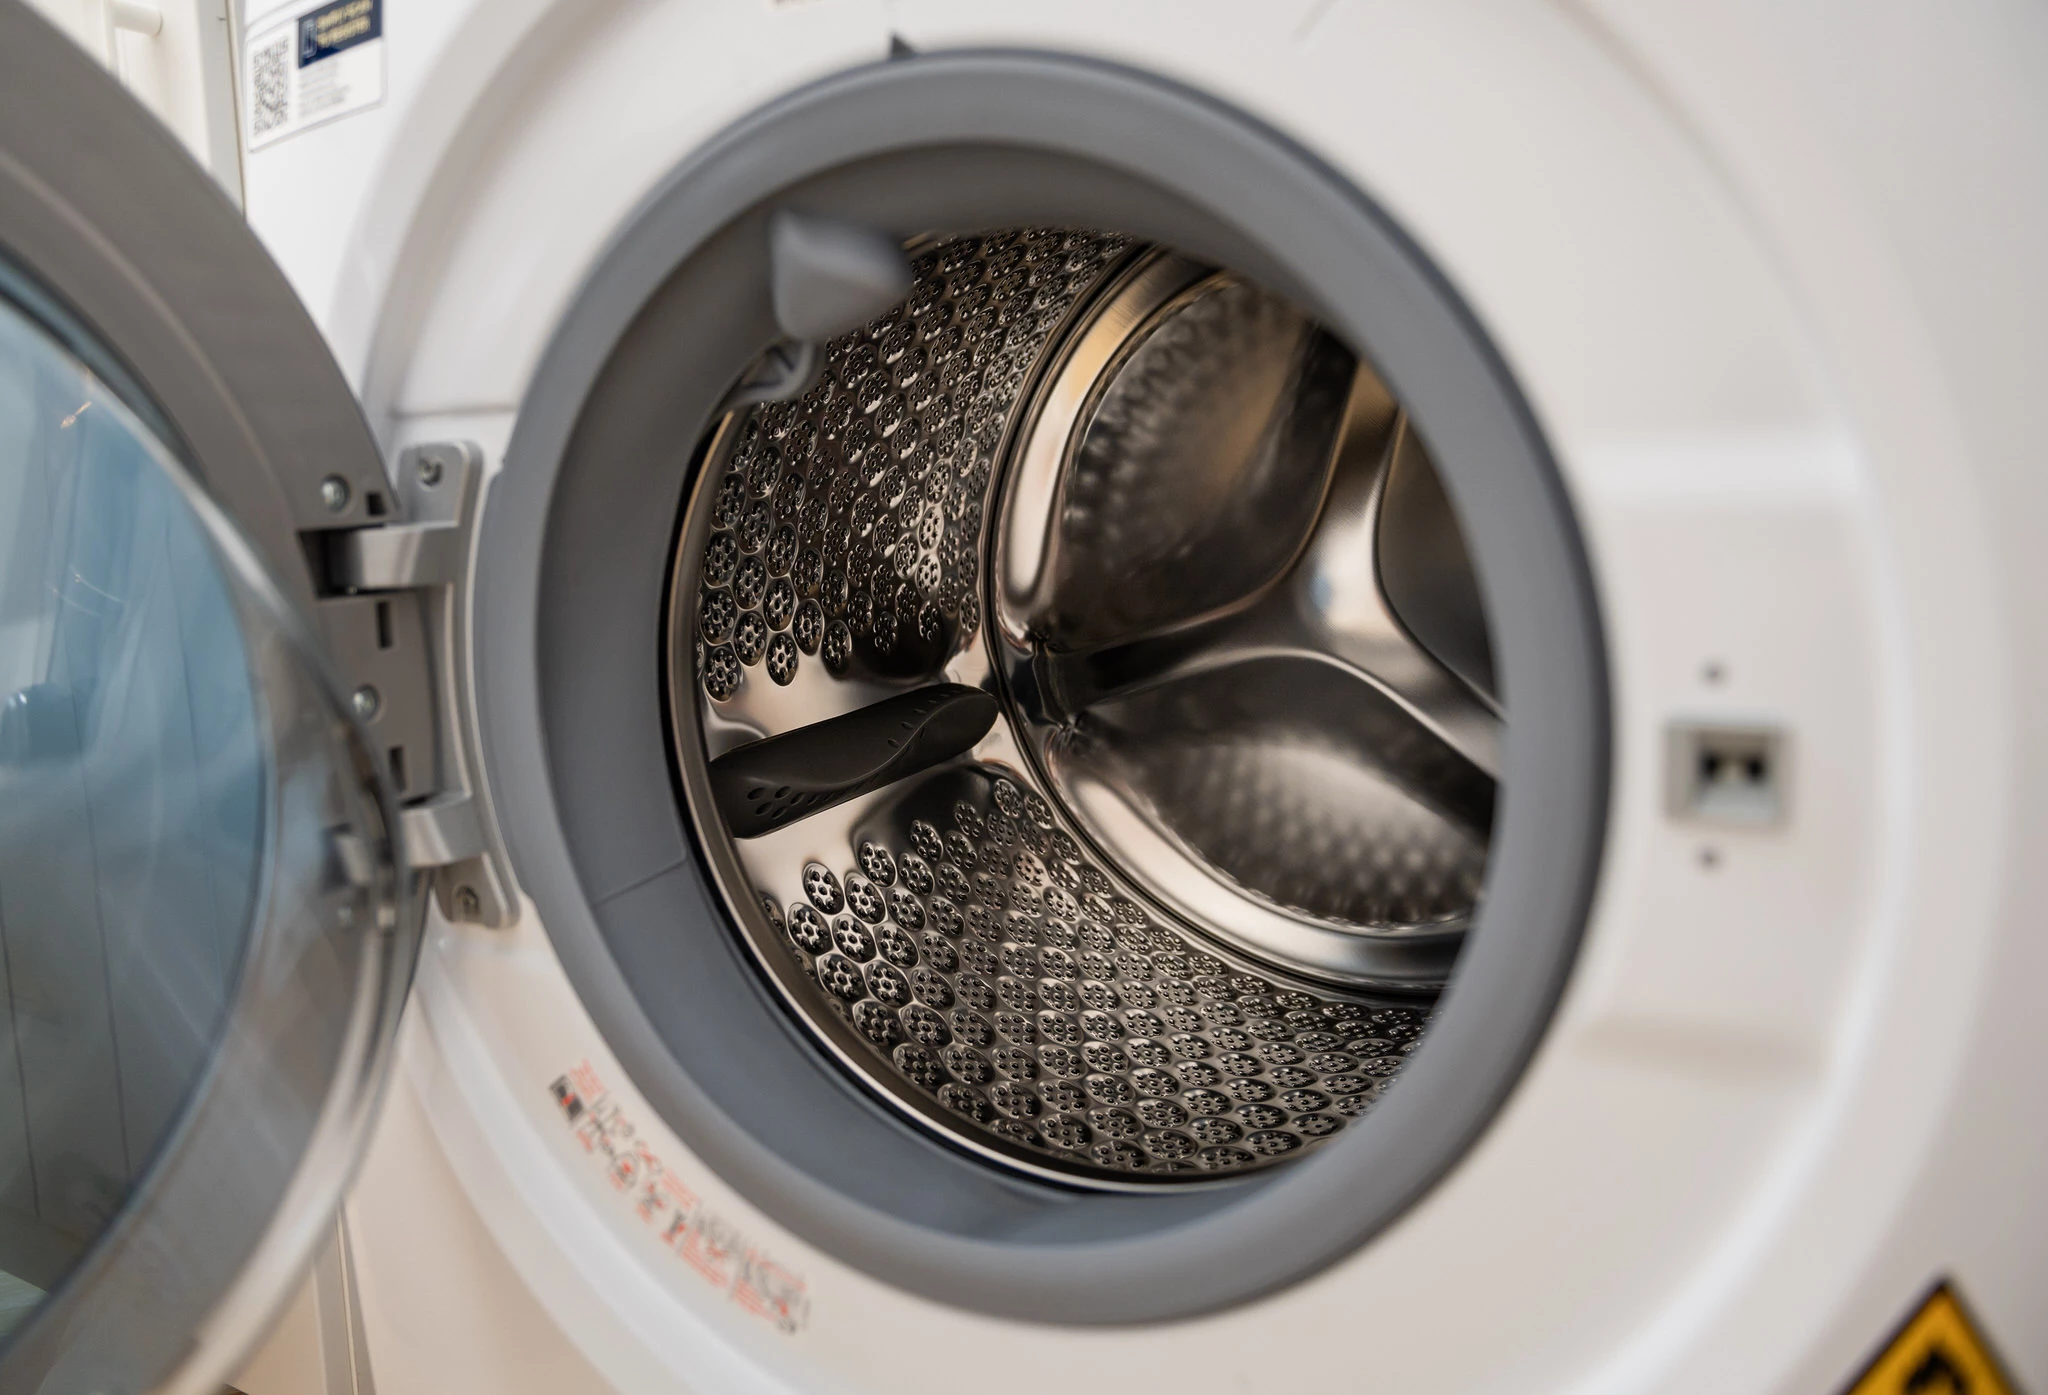
Secure the drum with transit bolts
This is crucial to stop the drum banging around and breaking internal parts.
Locate the transit bolt holes at the back of the machine. Insert the bolts and tighten them firmly with a wrench. If your model doesn’t use bolts, use straps to immobilise the drum as per the manual.
Without this step, you risk expensive damage, so double-check it’s secure.
Wrap and protect the exterior
Treat your washing machine like fragile cargo.
Cover it with blankets or bubble wrap, focusing on corners and the door. Tape everything in place, but avoid sticking tape directly to the surface to prevent residue.
Secure loose parts like hoses and the power cord to the back with tape or ties.
Lift and load it properly
Now comes the heavy lifting, literally.
With your helper, slide the machine out from its spot. Use the trolley: tilt the machine slightly and slide the trolley underneath. Strap it down tightly.
Wheel it to your vehicle. If there are stairs, take them slowly, one step at a time, with one person guiding from below.
In the van or truck, position it upright and strap it securely to the side. Never lay it on its side, as that can damage the components or cause oil leaks in some models.
Transport and unload with care
Drive steadily, avoiding bumps and sharp turns. If it’s a long journey, check the straps periodically.
At the new place, unload using the trolley again. Wheel it to its spot, but don’t plug it in yet.
Reinstall in your new home
Once in position, remove the transit bolts or straps first. Failing to do this can wreck the machine when you turn it on.
Reconnect the hoses: inlet to water supply, drain to the outlet. Plug in and turn on the power and water.
Level the machine using its adjustable feet, a spirit level helps here. Run a test cycle to check for leaks or unusual noises.
If something seems off, call a professional, better safe than sorry.
Common pitfalls to avoid
People often rush and skip draining, leading to soggy vans. Or they forget transit bolts, which can void warranties.
Don’t overload your vehicle or ignore weight limits. And always measure doorways in advance, nothing worse than getting stuck halfway.
If you’re unsure about any part, especially with older machines, consider hiring pros. It’s often worth it for peace of mind.
Moving a washing machine isn’t as daunting as it seems when you break it down. Take your time, follow these steps, and you’ll have it up and running in no time. If you’ve got questions about other appliances, feel free to ask.
Conclusion
Moving a washing machine safely is all about preparation and balance. By fully draining it, securing the drum, and keeping it upright, you can protect the appliance from costly damage.
If you’re moving in or around London, Best London Removals Ltd offers professional help with disconnecting, transporting, and reinstalling your washing machine or other household appliances.
Request a free, no-obligation quote today and let our experienced team handle the heavy work.
FAQs how to move a washing machine
Find quick answers to common questions about how to safely move a washing machine
Can I move a washing machine without transit bolts?
It’s risky. The drum can move freely, potentially causing internal damage. If you no longer have the bolts, contact the manufacturer or use padding to temporarily stabilise the drum.
What if I’ve lost the transit bolts?
You can buy replacement bolts from the manufacturer (quote your model number) or from sites like eSpares or BuySpares. They usually cost £10–£25 for a set. If you can’t get them in time, stuff thick towels or foam tightly between the drum and the casing and strap the machine securely – it’s not perfect, but far better than nothing.
How do I drain all the water before moving?
Yes. Even a short journey with water sloshing inside can crack the concrete counterweight or damage the suspension. A quick spin-only cycle and tilting to drain the last bit takes 10 minutes and saves a lot of hassle
Do I need to drain the machine if I’m only moving 5 minutes down the road?
Detach the drain hose and let the water flow into a shallow tray. Check the filter on the front panel and manually empty any trapped water.
Can I transport a washing machine on its side?
Try not to. Always move it upright to prevent drum misalignment and gearbox oil leaks. If necessary, place it on the side opposite the controls and let it rest upright for a few hours before use.
How long should I wait before using it again?
Wait at least 30 minutes to one hour after reconnecting it and removing the transit bolts. This gives internal fluids time to stabilise.
Do movers reconnect washing machines?
Many professional removal companies, including Best London Removals Ltd, can disconnect and reconnect your washing machine safely as part of the moving service.
Should I clean the machine before the move?
Yes, run a hot service wash with descaler or vinegar. Then drain the remaining water fully and dry the machine. Prevents smells and leaks during the move.