
Phase 1: preparation (starting 24 hours before)
Empty and sort the contents
Everything must come out of the fridge and freezer before the move. Perishable food should be transferred into cooler bags with ice packs. Frozen items that will not survive the journey should be used or disposed of rather than risked.
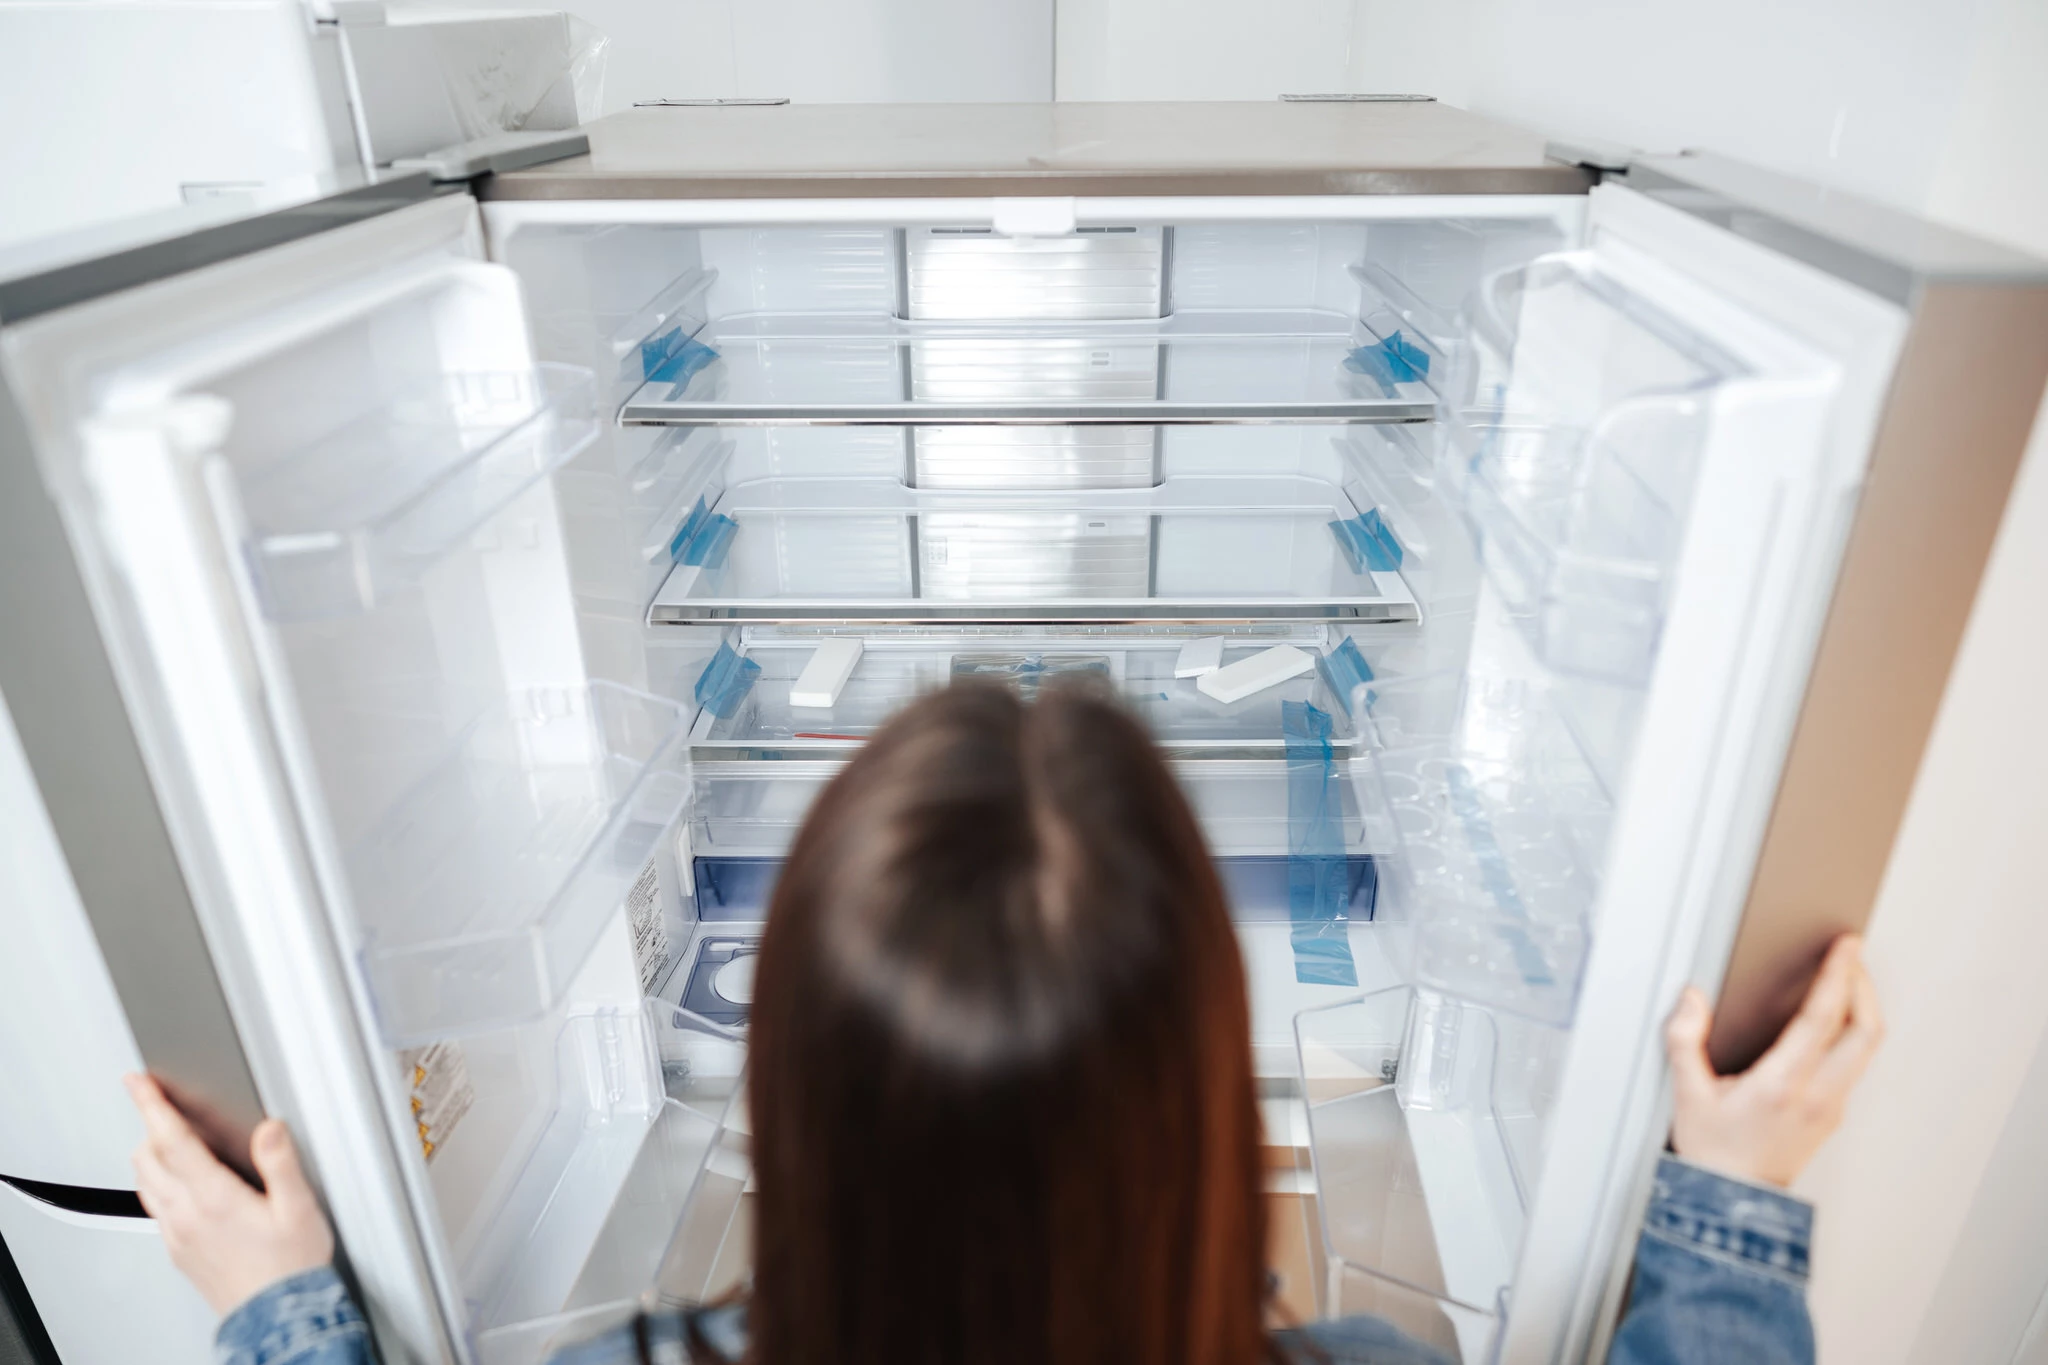
Remove all shelves, vegetable drawers, and door trays. These parts are fragile and will chip or break if left loose during transit. Wrap each piece individually in bubble wrap and pack them in a clearly labelled box.

Defrost, drain, and dry
This step cannot be skipped. Ice left in the freezer will melt in the van, causing water damage to other items or the vehicle's floor.
Switch off the appliance and unplug it from the wall. Prop both doors open to speed up defrosting. Place towels inside the bottom of the unit and on the floor to catch meltwater.
Once all the ice has cleared, wipe the entire interior dry with a clean cloth, paying particular attention to the door seals and any crevices. A damp interior left sealed during the move will develop odours quickly.
Secure the unit for loading
Coil the power cable neatly and tape it firmly to the back of the appliance with masking tape or a cable tie. Trailing cables create trip hazards during loading and can snag on doorframes or stairs.
Once the interior is completely dry, use stretch wrap or non-residue tape to secure the doors closed around the unit's body. Do not tape directly over the rubber door seals, as this risks tearing them and breaking the airtight seal.
Phase 2: the physical move and transport
Use a trolley and keep it upright
Never drag a fridge freezer across the floor. Dragging risks bending the coolant pipes at the back, which can cause a refrigerant leak.
Always use an appliance trolley or hand truck with straps to secure the unit before moving it. This is a two-person job. One person controls the trolley, the other guides and steadies the appliance through doorways, around corners, and down stairs.
The most important rule during the move is to keep the appliance upright. Tilting a fridge freezer causes the compressor oil to migrate from the reservoir into the cooling lines. If this happens and the unit is switched on before the oil has settled back, the compressor can fail immediately.
If the unit must be tilted briefly to pass through a low doorway or awkward space, keep the angle as minimal as possible and return it to upright as quickly as you can. If it must be laid on its side, check the manufacturer's guidelines for which side is recommended, and allow additional settling time at the other end.
Securing in the van
In the removal vehicle, strap the fridge freezer firmly against the sidewall using ratchet straps. Use moving blankets between the appliance and any adjacent furniture or boxes to protect the exterior and absorb movement during transit.
Phase 3: reinstallation
Wait before switching on
This is the step most commonly skipped and the most important one to get right.
If the fridge-freezer was kept upright throughout the move, wait at least 2 to 3 hours before plugging it in. This allows any compressor oil that shifted during the journey to settle back into position.
If the unit was tilted or laid on its side at any point, wait at least four hours. If it was on its side for an extended period, waiting 12 to 24 hours is the safer approach. Switching on too early after tilting is the most common cause of compressor failure immediately after a move, and in most cases, it also voids the manufacturer's warranty.
Power up and test
Once the settling time has passed, plug in and switch on the appliance. Let it run empty for at least 2 hours, and check that it reaches the correct temperature before reloading food. Most modern fridge-freezers will display the internal temperature, making it straightforward to confirm the unit is working correctly before stocking up.
Frequently asked questions
Best London Removals Ltd carries out home, flat, and office removals across all London boroughs, with surveys, fixed-price quotations, and access planning included as standard. Smaller jobs are available as man and van hourly bookings, where the team advises a realistic time estimate based on the scope of the work.